Handle Engineering: Junction, Dryness and the Load Test That Nobody Runs
- Share
- Issue Time
- Sep 20,2026
Summary
A detached handle is one of the most common ceramic failures and one of the most preventable. This is where handles actually break, why the cause is usually drying rather than design, and the four-point test that catches it before shipping.
The Problem: The Failure Arrives in the Market, Not the Warehouse
A detached or loose handle is a Class A defect almost everywhere, and it is unusually expensive: it fails in use, with hot liquid, which turns a quality problem into a safety conversation. It is also the defect with the least visible cause. A handle that survives the inspector's hand and fails three weeks later in a dishwasher was not inspected for the property that matters; it was judged on appearance and a light pull.
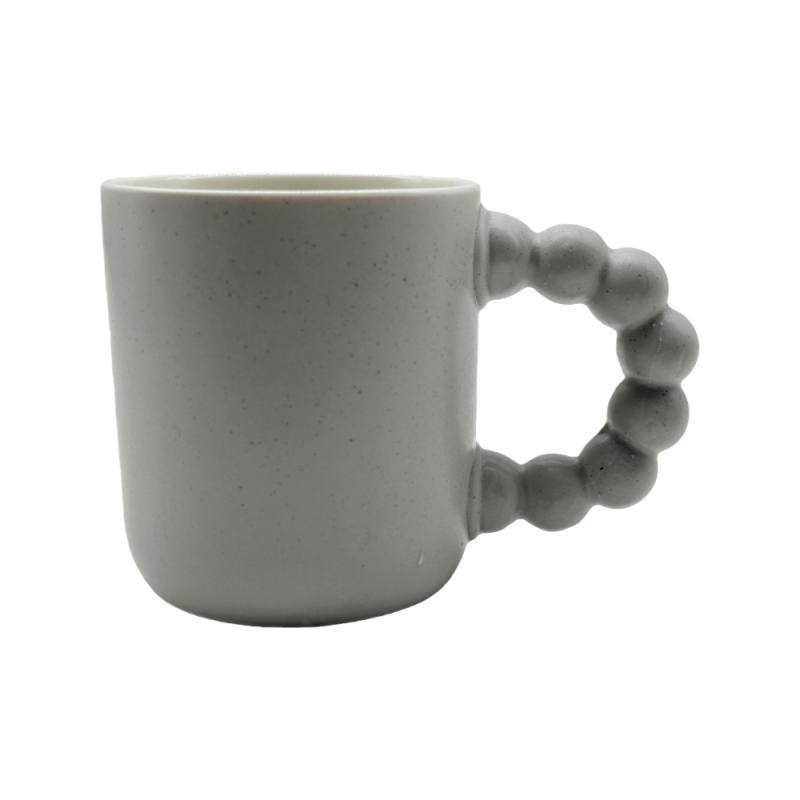
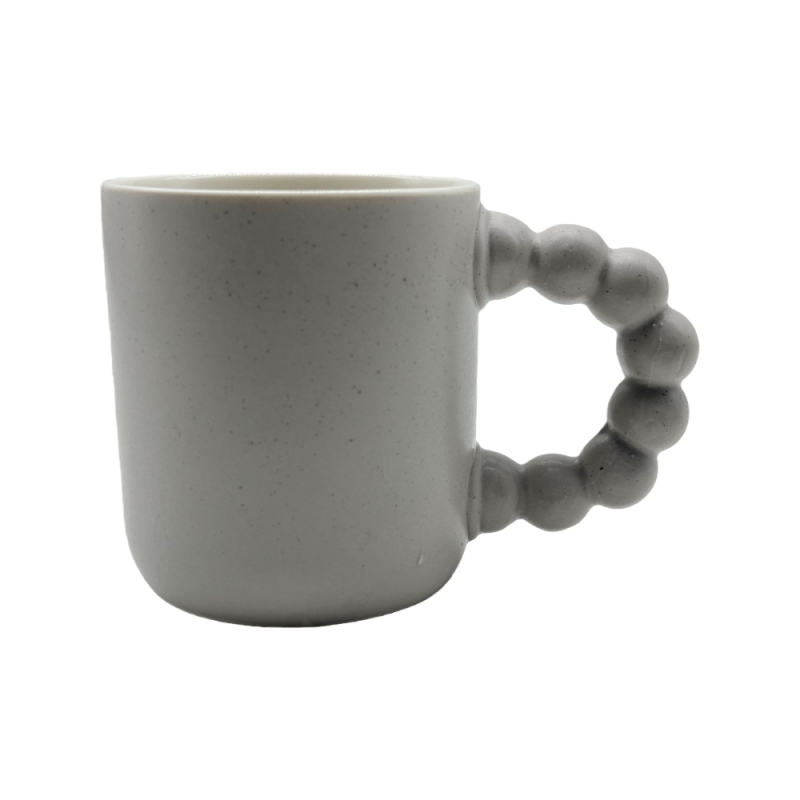
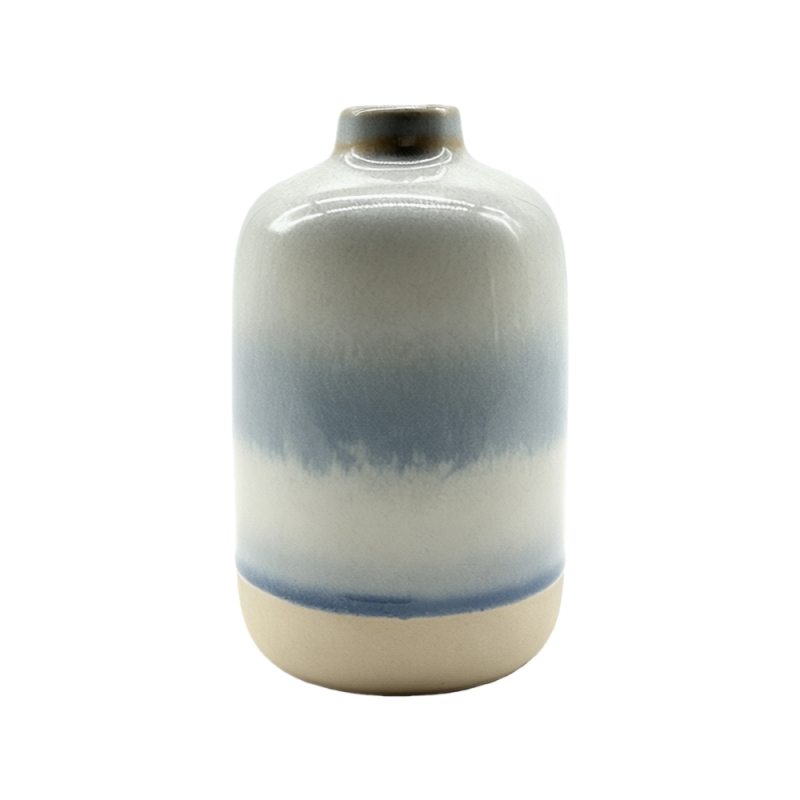
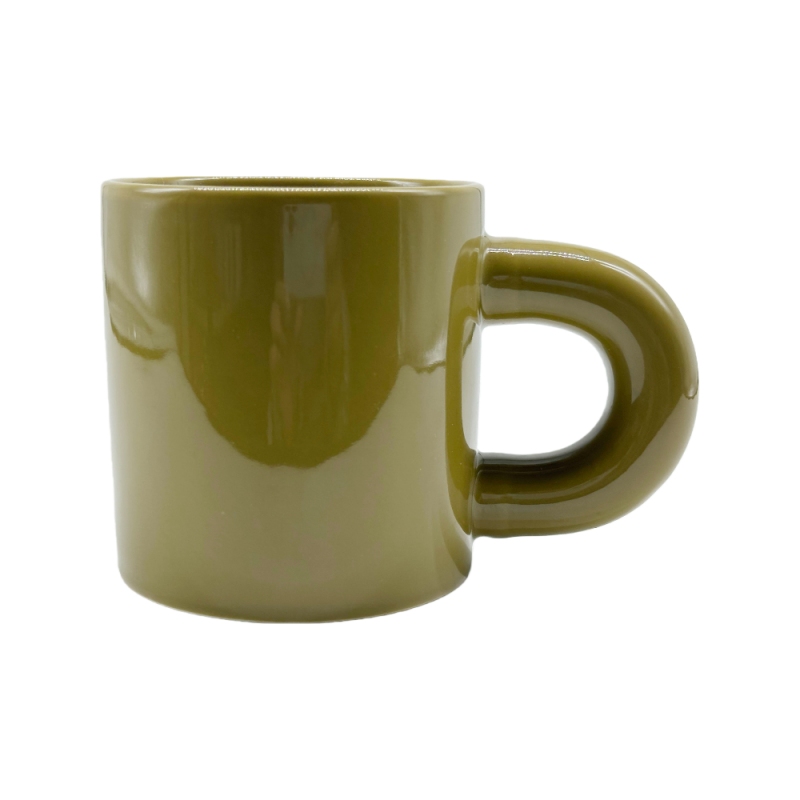
Products in this guide: New Bone China Ceramic Mug · Reactive Glaze Ceramic Flower Vase – Modern Handmade Home Décor Vase
The mechanism is not usually the shape of the handle. It is the joint, and the joint is decided by two things that leave no trace in the finished piece: how the handle was attached and how long it was allowed to dry before firing.
Where Handles Fail, in Order of Frequency
At the joint itself. The handle pulls away from the body, cleanly or with a ragged edge. This is the classic failure and almost always a green-strength or joint-development issue rather than a load issue.
Just above the lower joint. A crack running from the joint into the handle or the wall, which indicates a stress concentration where the handle section meets the body.
In the handle section, where it is thinner than specified. A handle formed slightly thin — or stretched during application — is a handle that will break under a full mug, especially with a jerk.
At the kiln support point, where a piece that sat on a bearing surface during firing was disturbed, leaving a weak spot near the base rather than the handle. Worth knowing because it produces a similar complaint attributed to the wrong cause.
The Two Mechanisms That Decide It
The joint: how the handle is attached and developed. Three common approaches, with different risk profiles.
Slip-joined (applied) handle. The handle is formed separately, then joined with a slip of matching body. This is the most common method and the one with the most variables: the slip's consistency, the scoring or roughening of the contact surfaces, the pressure applied, and the time allowed for the join to develop before the piece is handled. A well-made slip joint is as strong as the body; a badly made one fails at the interface.
Cast-in (integral) handle. The handle is part of the moulded body, so there is no joint to fail. It is the strongest option and the most expensive in tooling. It also limits handle design, which is why it is not universal.
Attached with a reinforcing fillet or collar. The junction is blended with additional material, spreading the stress over a larger area. Used where the design allows, it substantially raises the load a joint will take.
Drying: the variable nobody measures. After joining, the piece has to dry before firing. Drying too fast — or loading the kiln before the joint has developed — produces a joint that is strong enough to be handled but not strong enough to be used. The failure is invisible at inspection and appears after the first thermal cycle or the first full mug. Two controls decide it: a minimum interval between joining and kiln loading, written into the process sheet; and distinguishing the moisture level of the handle slip from that of the body, since a mismatch in drying rate is what creates internal stress at the joint.
The spec freeze guide explains how artwork and packing files are locked between orders.
The Load Test, Which Is Simple
The test that catches this takes one minute per piece and requires a hook, a weight and a record sheet.
Static load. Suspend a filled mug from the handle, or apply a defined load to the handle in the direction of normal use — the load corresponding to the maximum intended contents plus a margin. The purpose is not to destroy the piece but to exceed the daily load, so a pass means the handle carries more than a full mug.
Sudden load (the jerk test). Apply the same load suddenly rather than gradually. This is the test that catches a joint with adequate strength but poor development, because a jerk is what breaks a mug being picked up quickly.
Duration. Hold the load for a short period rather than an instant, so that creep or movement at the joint has time to show. Movement, not breakage, is the earliest indicator.
Thermal preconditioning. Run the test both on a room-temperature piece and after a hot-fill-plus-dishwasher cycle. A joint that fails only after a thermal cycle is a joint with a drying or fit problem, and finding it in the factory is worth far more than finding it in a review.
Sampling and recording. A defined number of pieces per batch — spread across positions, not taken from one place — with the results recorded, including movement without breakage. A record of "300 tested, zero movement" is what converts a claim conversation into a thirty-second exchange.
Acceptance Criteria
Four lines make the test usable rather than decorative.
- The load, stated in a unit, at a defined point, in a defined direction.
- The result required: no breakage, no visible crack, and no measurable movement at the joint.
- The preconditioning: whether the test is on an as-fired piece, a hot-filled piece, or a dishwasher-cycled piece — and if more than one, all of them.
- The frequency: for example, a stated number of pieces per batch, plus a full round on the first batch of any new body, glaze, handle slip batch, or after any kiln-loading change.
What Belongs in the Specification
Five items, and they are the difference between a handle that is designed and a handle that is specified.
- Handle section dimensions, with a minimum, since a thin handle is a weak handle regardless of the joint.
- Joint type: slip-joined, cast-in, or blended with a fillet — named, not implied.
- Minimum drying interval between joining and kiln loading.
- Slip specification for the joint: the body it must match, and a control on its moisture or consistency at the time of use.
- Load test requirement, with the load, the result and the frequency.
The packaging guide explains how retail-ready and protective layers are specified together.
The Questions That Find the Risk
Five, and a factory that answers all five is running a controlled process.
- How long is the interval between joining the handle and loading the kiln, and is it written down?
- Is the slip used for the joint the same body as the piece, and how is its consistency checked?
- What minimum thickness does the handle section have, and how is it verified?
- Do you run a load test, at what load, on how many pieces per batch, and can I see the last three records?
- What changed the last time a handle joint failed?
The Habit That Ties It Together
The habit is to specify the joint and the drying interval, and to run the load test rather than trusting a handshake. Programs that do this ship handles that hold a full mug for ten years — and avoid the one defect that turns a quality claim into a safety one.
Related Products
Explore products featured in this guide:

Have questions? See our Sizes & Finishes FAQ and Ordering & Certifications FAQ.
Need a custom quote? Send an inquiry or browse our full product catalog.